- arrow_back Home
- keyboard_arrow_right Gaming Guides
What Are the Best Tools in Silksong? Here’s My Tierlist
Gaming Guides 30 Ayefkay September 22, 2025

I’ve been completely sucked into Silksong, and like any totally well-adjusted gamer, the first thing I did wasn’t to soak in the story or the new world of Pharloom – it was to immediately make a tierlist.
Why, you ask? Because arguing with myself about which tools are busted and which are just shiny paperweights is peak bug life.
Now, here’s the deal: this tierlist is based on my own playstyle.
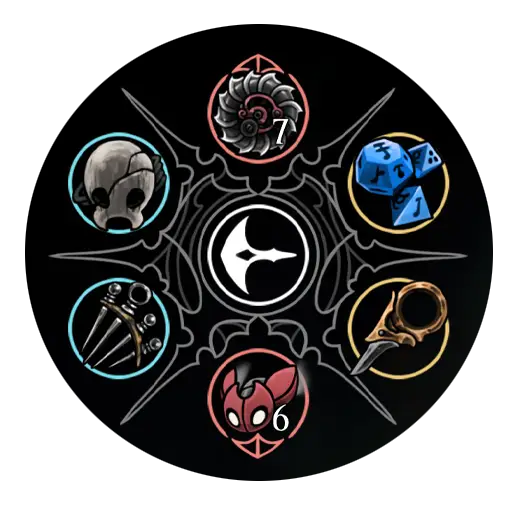
Image: My Recommended Reaper Crest Build | Hollow Knight: Silksong | Team Cherry
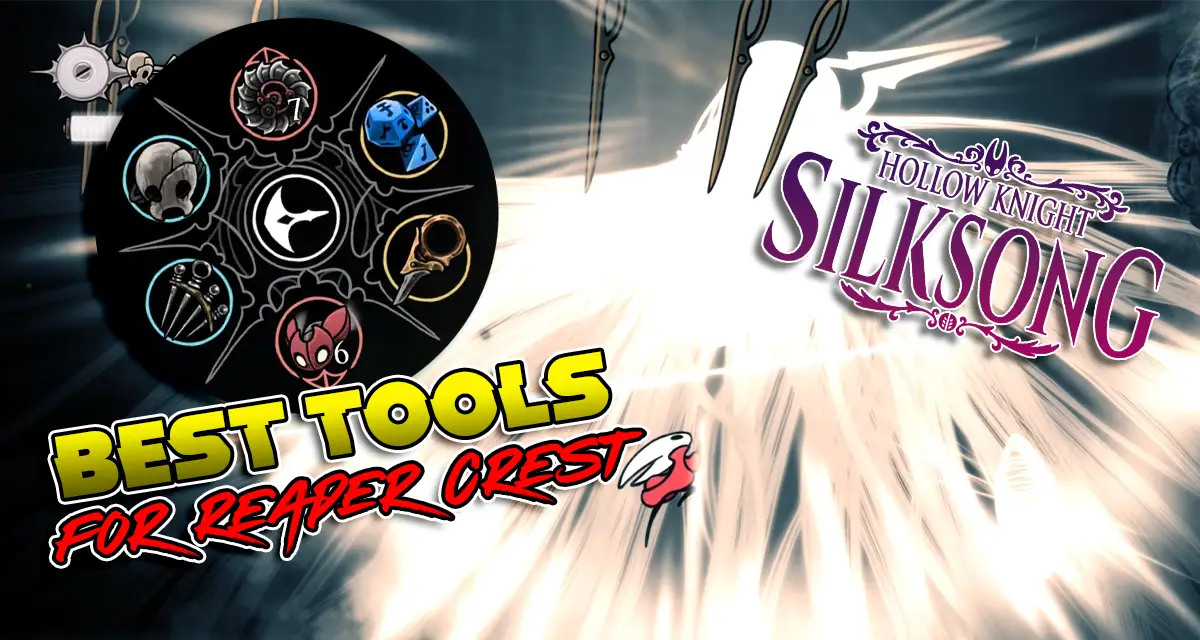
I’m rocking the Reaper Crest for that buttery smooth pogo experience, leaning hard on dash attacks for damage + evasion during boss fights, and building around consistency.
I’m not about to drag you through all 59 tools (because nobody’s got time for that), so instead, I’ll show you the real cream of the crop: my S-Tier picks along with some honorable mentions at the end.
S-Tier Yellow Tools
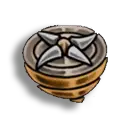
Compass
Game description: “Intricate tracking device, carved from shell. When equipped, the bearer’s location will be marked on their map.”
Cost: 70 Rosaries
Tool Location: (Act 1) – Pick it up from your first meeting with Shakra in The Marrow.
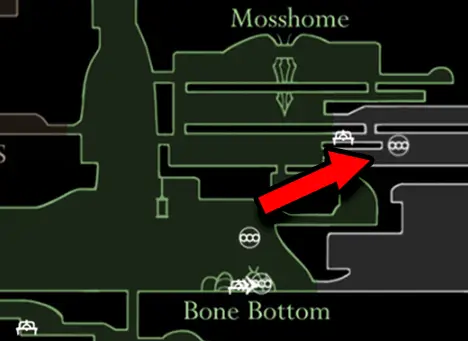
The Compass is the Silksong equivalent of Google Maps – except Pharloom doesn’t give you turn-by-turn directions and your GPS signal is constantly screaming.
This thing lives in my Yellow Vesticrest slot 24/7, unless I’m swapping in something like the Barbed Bracelet for a boss fight. Without it, exploring becomes an exercise in “oh cool, I’ve been here before…six times.”
S-Tier for saving my sanity alone.
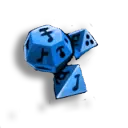
Magnetite Dice
Game description: “Holy stone inscribed with a prayer for rosaries. Any loose beads will be pulled toward the wearer.”
Cost: Free from Lumble, or 300 Rosaries from Grindle.
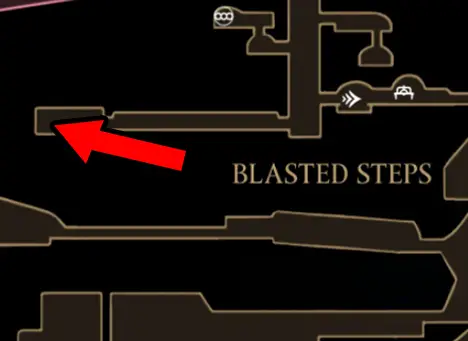
Tool Location: (Acts 1–3) – Found at Lumble the Lucky in the Blasted Steps, or buy it from Grindle in Act 3.
The Magnetite Dice are like carrying your own pocket RNG god. Roughly 8% chance to shrug off an attack (starting at 0% and climbing by about 2% with each hit until it maxes out at ~10%), before resetting back to zero when it procs.
Translation: you get to look smug when the hardest-hitting move in a fight just doesn’t happen.
Bonus perk – this bumps Needle crit chance to 2.2%, which isn’t game-breaking but hey, free crits. It’s like the dice are saying: “Not today, buddy.”
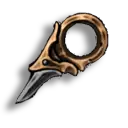
Ascendant’s Grip
Game description: “Gilded piton that allows one to hold in place while on a wall.”
Cost: 350 Rosaries
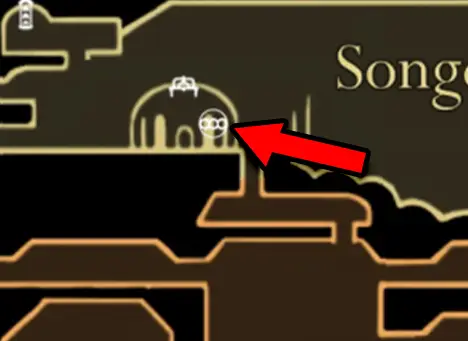
Tool Location: (Act 2) – Buy it from Jubilanna after completing “The Wandering Merchant” wish.
This tool is massively underrated. It’s basically Hornet’s “I’m just gonna chill here for a sec” button.
Whether it’s pausing mid-platform section to scout a jump or clinging to the top corner of a boss arena while you bind a heal, Ascendant’s Grip gives you breathing room in a game that usually denies you that luxury.
It’s not flashy, but it’s the kind of S-Tier tool that quietly saves your run over and over again.
S-Tier Red Tools

Cogfly
Game description: “Winged cogwork companion that will seek nearby foes and attack.”
Cost: 1 Craftmetal
Tool Location: (Act 2) – Found in the High Halls, sitting on a workbench near a vertical spike trap section.
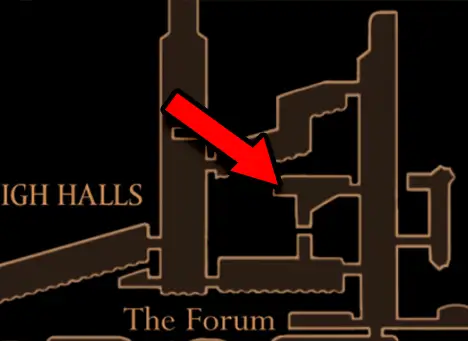
The Cogfly is your personal swarm of attack drones and easily the most OP tool in the game.
Critics call it “easy mode” and I can’t even argue. It chews through enemies and chunks bosses while you focus on dodging, pogo-ing, or just sipping some tea. Pair it with Pollip Pouch for some extra damage and you’re basically a boss-destroying machine.
Just don’t bring it into pogo zones that you need enemies for – nothing’s worse than your “helper” deleting the only enemy you needed to bounce on.
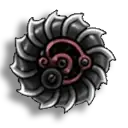
Cogwork Wheel
Game description: “Expanding circular blade powered by a cogwork motor. Propels forward, slicing through foes.”
Cost: 1 Craftmetal + 360 Rosaries
Tool Location: (Act 2) – Sold by the Twelfth Architect in the Underworks.
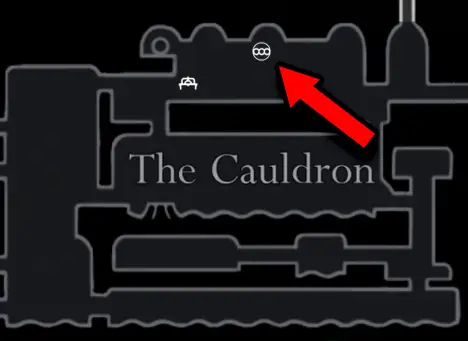
The Cogwork Wheel is basically your bug-sized lawnmower.
Toss a few of these blades on the ground, it absolutely shreds bosses, minibosses, and packs of pilgrims. With eight base charges, you can blitz through most non-boss enemies in seconds.
The downside?
It’s about as useful against flying mobs as throwing a frisbee into the wind. But when it hits, it hits hard.
S-Tier Blue Tools

Fractured Mask
Game description: “Old bug’s skull carved for protection. Shields against critical damage but shatters on impact.”
Cost: 260 Rosaries
Tool Location: (Act 1) – Buy it from Mottled Skarr in Hunter’s March.
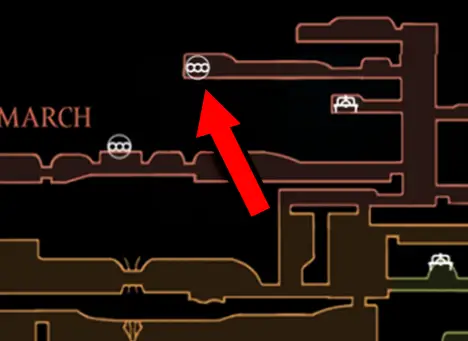
Think of this as Silksong’s built-in Uno Reverse card. You take a critical hit, the mask breaks, and you get a second chance at life.
It’s an early pickup that can bail you out of rookie mistakes or late-game disasters. The only time I swap it out is when status defense (Magma Bell, Wreath of Purity) or extra reach (Longclaw vs. First Sinner) is more critical.
Otherwise, this thing was glued to my crest slots until Act 3.
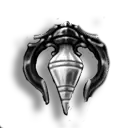
Multibinder
Game description: “Elaborate, etched Weaver spindle. Extends the act of binding, but increases its healing effect.”
Cost: 880 Rosaries
Tool Location: (Act 1) – Found in Belhart after the quest My Missing Courier.
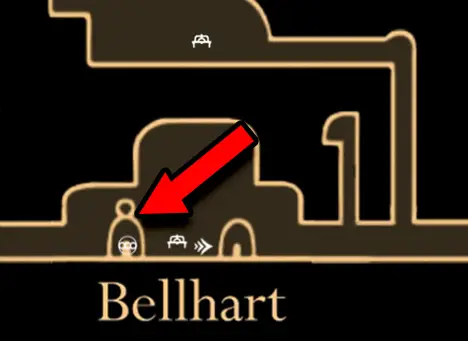
Multibinder doubles your heals, which is absurd value in Silksong.
Yes, the cast time is longer, but if you know your boss patterns, you can always sneak it in.
When paired with the Reaper Crest’s silk gen boost, this tool turns Hornet into a bug-sized tank. First time I equipped it, I never looked back.
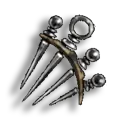
Injector Band
Game description: “Brace of surgical pins from the Whiteward. Increases the speed of binding.”
Cost: N/A
Tool Location: (Act 2) – Found in Whiteward, requires the White Key.
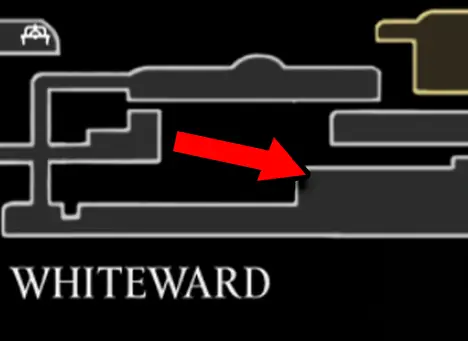
If Multibinder is the meal, Injector Band is the hot sauce.
Slashing your heal time makes risky binds safe and safe binds lightning fast. Against high-pressure bosses like First Sinner or Grand Mother Silk, this tool is basically the difference between victory and faceplanting on repeat.
S-Tier synergy, no question.
Other Tools that deserve Honorable Mentions
Claw Mirrors (Blue): Anime finisher move every time you heal; pairs well with Witch Crest.
Reserve Bind (Blue): Emergency heal in your back pocket, just comes way too late.
Longpin (Red): Pierces multiple enemies, stays useful for the whole game.
Flintslate (Red): Passive burn damage + stay warm during Mount Fey climb.
Barbed Bracelet (Yellow): High-risk, high-reward DPS tool – great once you’ve downloaded a boss’s moveset into your brain.
Hope You Find These Helpful
So yeah, that’s my S-Tier Silksong toolkit – consistency, survivability, and tools that synergize with the Reaper Crest to keep me alive through the nastiest boss fights. Some players prefer swapping to pure DPS crests for burst windows, and that’s just fine.
My meta is all about staying alive long enough to win. If you want to check out more Silksong content, check out the rest of our Silksong Guides and News.
Got a different take?
Drop your S-Tier picks in the comments. Because let’s be real, the only thing better than surviving in Pharloom is arguing on the internet about which bug trinkets make that survival possible!
All images, logos, and video clips used in this article are the property of their respective owners. This content is used for the purposes of commentary, criticism, and news reporting under the guidelines of Fair Use (17 U.S.C. § 107). No copyright infringement is intended. If you are the copyright holder and believe your content has been used improperly, please contact us directly.
Want More?
Check These Out Next!
About Report AFK
A place for gamers, by gamers, untarnished by corporate gaming media and their nonstop attempts to elevate bad games while denouncing any developers brave enough to stand up to them.
Site Links
Copyright 2026 ReportAFK.com






Be the first to leave a comment